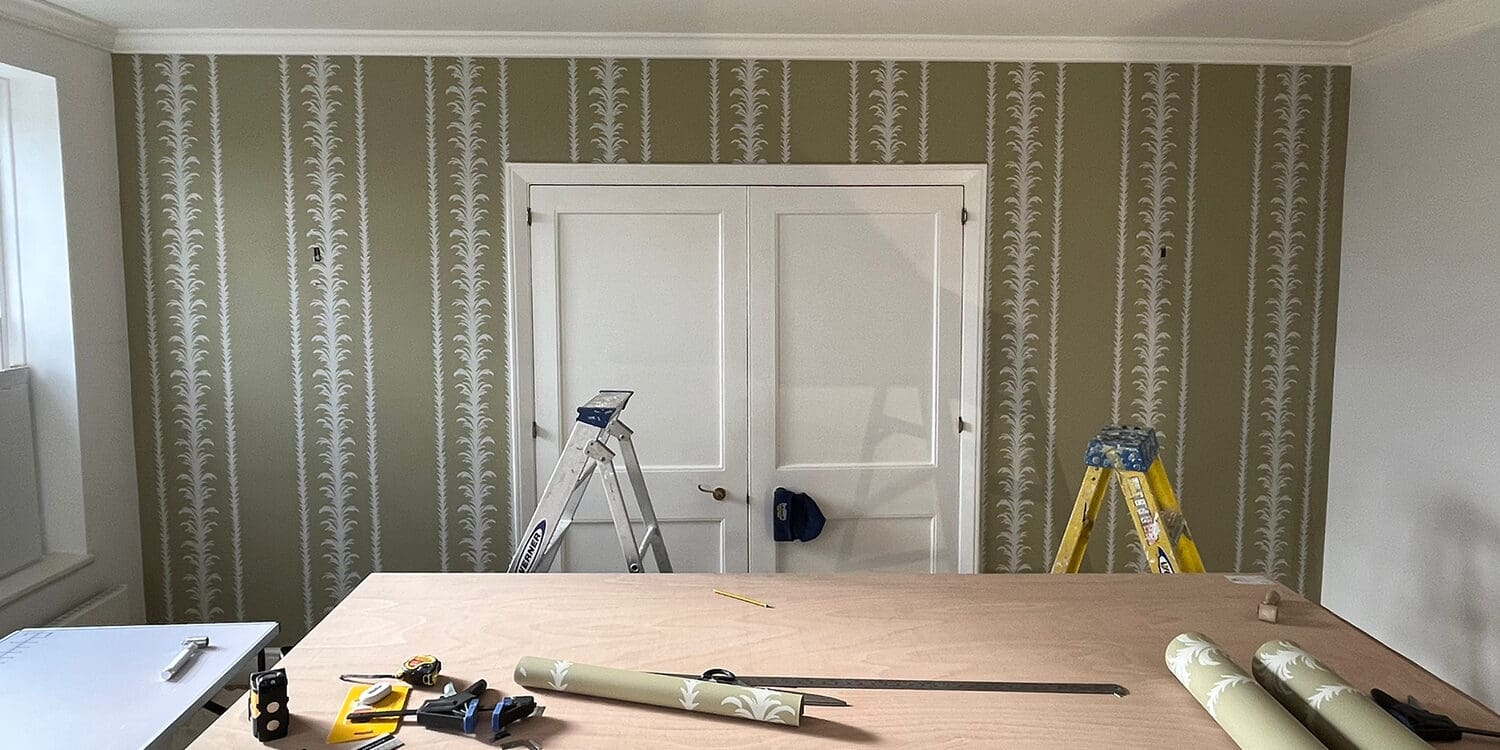
Wallpaper in interior design has had a huge resurgence in popularity in recent years. Gone are the days of bland, uninspiring wallpaper designs. Today, you can find a vast array of patterns, textures, and colours to transform any room into a work of art. However, the beauty of wallpaper depends not only on the design but also on the precision of installation. There are many benefits of hiring a wallpaper professional, but if you’re thinking about revamping your space with wallpaper yourself, it’s essential to understand the dos and don’ts of hanging wallpaper to ensure a pristine, lasting finish.
Dos:
Preparation is key
Before you even think about applying wallpaper, it’s crucial to prepare and prime your walls. Start by repairing any cracks, holes, or imperfections. Repair them with putty or filler and sand the patched areas until they are smooth. Then clean thoroughly. Any dirt, dust, or grease will hinder the wallpaper’s ability to adhere properly. Use a mild detergent solution and a sponge to wash the walls, and then rinse with clean water. Let the walls dry completely before you start to prime.
After cleaning and repairing, apply a wallpaper primer to your walls. Primer helps the wallpaper stick better and prevents the wall from absorbing the adhesive too quickly, which could lead to bubbles and wrinkles. Be sure to follow the manufacturer’s instructions for the specific primer you choose.
Be selective with wallpaper materials
Not all wallpapers are equal. Choose a wallpaper that suits the room’s purpose. If it’s a high-traffic area or prone to moisture, opt for vinyl or washable wallpaper. For a more delicate space, you can explore a variety of paper-based options, such as non-woven or traditional wallpaper. Some brands offer samples, we’d always recommend ordering them and making sure your material and pattern suits the room it will be added too.
Seek inspiration from the latest wallpaper trends to find a suitable design that aligns with both the room’s purpose and your personal taste.
Measure twice, cut once (with a sharp blade)
Accurate measurements are crucial for hanging wallpaper successfully. Measure the walls’ height, width, and the required length of wallpaper for each strip. Allow a little extra for trimming and matching patterns. It’s always better to have a little excess than to run out mid-project.
Resist the urge to trim excess wallpaper immediately after applying it. Wait for a few minutes for the adhesive to set, this will enable you to cut a clean edge without tearing the wallpaper. In addition, it is worth making sure your blade is sharp, as this will have a large impact on the precision of your cutting.
Allow time for booking
After applying adhesive to the wallpaper, allow it to “book.” Booking involves folding the pasted side onto itself to activate the adhesive. The booking time can vary depending on the manufacturers instructions, but is typically around 5-10 minutes.
Don’ts:
Rush the process
One of the most common mistakes made during the wallpaper hanging process is rushing through the steps. Wallpaper hanging demands attention to detail. Rushing through the process can result in mistakes and a less-than-perfect finish.
Forget to match patterns
If your chosen wallpaper has a pattern, it’s vital to test the wallpaper’s pattern match before you begin. Lay out the strips on the floor and check that the patterns line up correctly. Adjust as necessary to ensure a seamless look on the wall. Failing to align patterns correctly can make your wallpaper look disjointed and messy.
It is worth keeping a close eye on your wallpaper’s alignment with the top and bottom of the wall too. Failure to maintain a straight line can result in a visually unappealing finish.
Skimp on the volume of wallpaper
Running out of wallpaper mid-project can be a nightmare. Be sure to purchase enough wallpaper for your project, with a little extra for mistakes, future repairs and to match the pattern. We often recommend having enough to allow strips to overlap by 3mm. This ensures that there are no gaps or seams showing between the strips.
Avoid air bubbles and wrinkles
Air bubbles and wrinkles are one of the most common issues while hanging wallpaper. Once the adhesive dries, they can be very hard to fix. We’d recommend using a wallpaper smoother or sponge to eliminate them as you work, starting from the centre and working your way outward. Be careful not to press too hard and damage the wallpaper.
In summary, while wallpaper hanging can be a rewarding DIY project, it demands attention to detail, patience, and careful execution. By following these dos and don’ts, you can ensure a flawless finish and transform your room’s backdrop.
If DIY isn’t for you, we’ve got you covered here at Marshels. Whether you’re looking to update your home with wallpaper through our domestic decorating service, or looking to enhance the interior of your commercial building via our commercial decorating service, with over 37 years of experience carrying out wallpapering projects, you’ll be in safe hands with us.
Get in touch with a member of our friendly team today for a no obligation quotation and for information on how we can help transform your home or commercial space.


