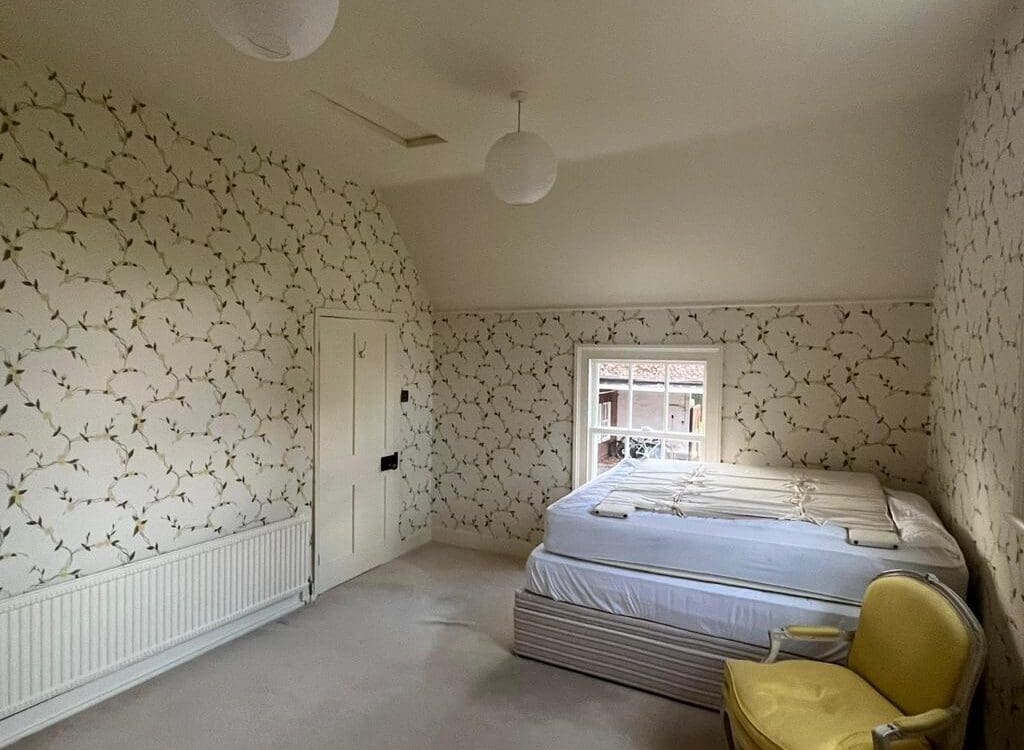
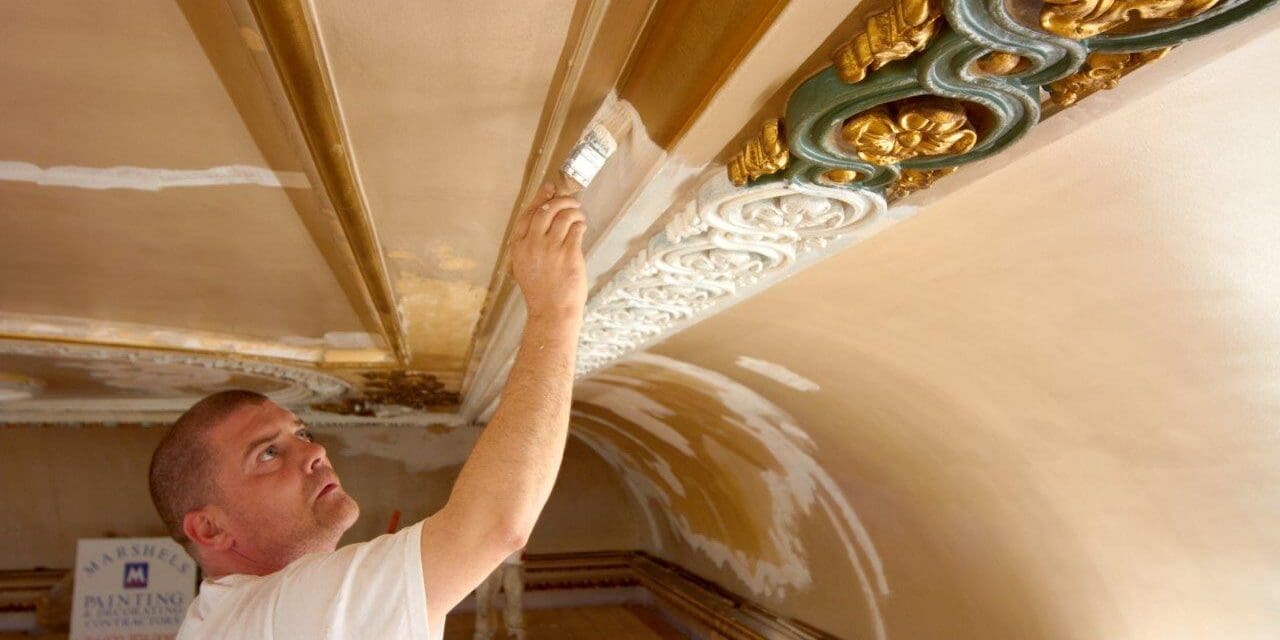
Painting a ceiling may not be the first thing that comes to mind when you think about a home improvement project, but it can make a big difference to the overall look and feel of a room. Whether you’re refreshing your ceiling’s colour, tackling stains, or trying out a new texture, painting your ceiling is a practical and impactful way to enhance your space. This guide will take you through the benefits of painting a ceiling, the tools you’ll need, and step-by-step instructions on the best way to paint a ceiling to ensure your interior painting and decorating project is a success.
Should I Paint My Ceiling?
If you’re debating whether it’s worth the effort, there are several benefits of painting your ceiling. A fresh coat of paint can brighten a room significantly, especially when using light or white shades that reflect natural and artificial light. This can make a small space feel larger and more open. Beyond aesthetics, painting your ceiling helps conceal imperfections such as stains, cracks, or wear-and-tear that naturally develop over time. By covering these blemishes, you create a smooth and flawless surface that enhances the overall appearance of the room.
Painting your ceiling also has practical advantages. For example, it can increase your property’s value by contributing to a well-maintained and polished look throughout the home. Additionally, in spaces like kitchens and bathrooms, the right paint can protect against moisture, mould, and mildew, adding durability to your ceiling and preventing long-term damage.
The colour and aesthetic of the room you’re decorating will play a big part in what colour will work well on your ceiling. Have a read of our blog that provides tips to help you pick the right colour scheme for you home redesign.

Tools You’ll Need for Painting a Ceiling
Before you begin, it’s important to have the correct tools and equipment ready to ensure a smooth process. We’d suggest gathering the following:
- Paint: High-quality ceiling paint in your preferred shade.
- Paint Roller: A roller with an extension pole to reach high ceilings.
- Angled Paintbrush: For cutting in around edges and corners.
- Drop Cloths: To protect floors and furniture from splatter.
- Painter’s Tape: For clean, straight edges along walls and fixtures.
- Ladder or Step Stool: To reach edges and inspect your work.
- Paint Tray: For easy loading of your roller or brush.
- Filler: To fill any cracks or holes in the ceiling.
- Sandpaper: To sand down the filler for a smooth surface.
- Protective Gear: Safety goggles, gloves, and a dust mask.
How to Paint a Ceiling Without Splatter (Step-by-Step Guide)
1. Prepare the Room
Before you start painting, preparation is key to achieving a professional result. Begin by moving any furniture out of the space, or if that’s not possible, cover everything with drop cloths to protect it from paint splatter. Use painter’s tape to mask off walls, light fixtures, and any trim such as coving, cornices or mouldings. Finally, lay down drop cloths on the floor in the area to catch any drips or splatter and safeguard your flooring.
2. Clean the Ceiling
Once the room is ready, turn your attention to the ceiling itself. Clean it thoroughly with a damp cloth or sponge to remove dust, dirt, and grease that can interfere with paint adhesion. If there are any cracks or holes, repair them using a filler and sand the surface smooth once it dries. This step is crucial for achieving a flawless finish.
3. Prime the Ceiling
Next, apply a coat of primer. Primer not only helps the paint adhere better but also provides a uniform base which is particularly important if you’re covering a stained or darker surface. Allow the primer to dry completely before moving on to the next step.
4. Cut In the Edges
Now it’s time to paint. Begin by cutting in along the edges of the ceiling where it meets the walls. Use a high-quality angled paintbrush for this step, as it allows for greater control and precision. Cutting in ensures that roller marks won’t get too close to the edges, giving your ceiling a clean, professional look.
Check out our ultimate guide to painting coving if you’re tackling a ceiling that is met with a trim.

5. Roll the Paint
After cutting in, switch to a roller for the main surface of the ceiling. Attach an extension pole to your roller to make the job easier and reduce strain. Dip the roller into the paint tray and roll off any excess paint to avoid drips. Use a “W” or “M” pattern as you paint, which ensures even coverage without creating streaks. Work in small sections to keep the edges wet and blend seamlessly into one another.
6. Apply a Second Coat
Once the first coat is complete, let it dry fully before applying a second coat. Most ceilings require two coats to achieve a smooth, consistent finish, especially if you’re covering stains or switching to a lighter colour. Take your time to ensure the paint is applied evenly.
7. Clean Up
Finally, clean up your workspace. While the paint is still slightly wet, remove the painter’s tape to prevent peeling. Wash your brushes and rollers immediately, as dried paint can ruin them. Carefully fold and dispose of the drop cloths or store them for future use.
Following these steps should leave your ceiling looking fresh and enhance the overall aesthetic of the room.
What is the Best Paint for Ceilings?
When choosing paint for your ceiling, consider what room you’re painting and what the room is used for. Ceiling paints come in different finishes and have varying formulas depending on what is best suited to your needs. Below are some of the best ceiling paint options:
- Flat or Matte Finish: Ideal for hiding imperfections and reducing glare.
- Low-Splatter Formulas: Specifically designed for ceilings to minimise mess.
- Mould-Resistant Paints: A must for areas prone to moisture, like bathrooms.
Paint for Bathroom Ceilings
When painting your bathroom ceiling, you may want to consider a paint that counters the high humidity that can occur in this space. Choose a paint labelled as:
- Mould and Mildew-Resistant: To prevent fungal growth.
- Semi-Gloss or Satin Finish: Easier to clean and more durable than flat paint.
Textured Ceiling Paint
Textured ceilings add character to a room and painting them requires extra care. Use a thicker nap roller (¾ inch or more) for even coverage over textures like popcorn ceilings. If you want to add texture, look for specialty paints that include aggregates to create patterns or effects.
If you’re looking to add texture and character to your space, take a look at our blog for some other clever interior painting techniques to refresh your ceiling or walls.

Conclusion
By following this guide and choosing paint that is functional for the area you’re using it, you’ll be well-equipped to tackle your ceiling painting project with confidence. Whether you’re refreshing a single room or updating your entire home, a well-painted ceiling can make all the difference.
If you’d prefer assistance for your project, check out our painting and decorating services or get in touch to request a free quote.
FAQs
How to Paint a Bathroom Ceiling
Begin by thoroughly cleaning the ceiling to remove any mould, mildew, or grease. Use a mould-resistant primer to create a barrier against dampness and prevent future fungal growth. Apply two coats of a semi-gloss or satin paint, which are durable, easy to clean, and provide resistance against moisture. Make sure to allow each coat to dry completely to ensure long-lasting results.
What Colour Should I Paint Ceiling Beams?
Neutral tones like white or black are versatile and blend seamlessly with most decor styles, while natural wood stains enhance the beams’ texture and highlight their organic charm. If you’re looking for something bold, consider contrasting colours to make the beams stand out as a focal point. Just ensure the chosen colour harmonises with the rest of the room’s palette for a cohesive design.
How to Paint Straight Lines Between a Ceiling and Wall
Start by applying painter’s tape along the edge to create a guide. Use a high-quality angled brush to carefully paint along the taped edge, ensuring you don’t overload it with paint, which can lead to bleeding. For the best results, remove the tape while the paint is still slightly wet to avoid pulling off dried paint. If you don’t have steady hands, consider using an edging tool designed for clean transitions.
How to Paint High Ceilings
Use an extension pole with your roller to minimise the need for a ladder and reduce strain. If a ladder is required, ensure its sturdy and placed on a stable surface. For extremely high ceilings, renting a scaffold or hiring professional painters might be the safest and most efficient option. Take frequent breaks to avoid fatigue, and always use protective gear to safeguard against paint drips.
How to Paint Over a Water Stain on the Ceiling
First, identify and fix the source of the water leak to prevent further damage. Clean the stained area with a solution of water and mild detergent to remove any residue. Once dry, apply a stain-blocking primer specifically designed for water stains to seal the area and prevent discoloration from bleeding through. Finish by applying two coats of ceiling paint, ensuring a flawless, uniform look.
Do You Paint Ceilings the Same Colour as Walls?
Painting the ceiling the same colour as the walls can create a cosy feel, especially in smaller spaces. However, using a lighter colour for the ceiling, typically white or a soft neutral, helps reflect light and makes the room feel more open and airy. The choice depends on your design goals. Use test swatches to see how the combination looks in your specific lighting before making a decision if you’re unsure.
Do You Paint Coving the Same Colour as the Ceiling?
Coving, the decorative moulding where the wall meets the ceiling, is often painted the same colour as the ceiling to create a seamless and unified appearance. However, painting it a contrasting colour can add a touch of elegance and draw attention to the architectural detail. If your walls and ceiling differ in colour, you can choose either one for the coving, depending on whether you want it to blend in or stand out.
How to Remove Paint from a Ceiling
If the paint is peeling, bubbling or uneven, start by scraping off loose paint with a paint scraper or putty knife. For stubborn layers, use a chemical paint remover or heat gun to soften the paint for easier removal. Sand the ceiling afterward to create a smooth surface for repainting. Always wear protective gear and ensure good ventilation when working with paint removers.


