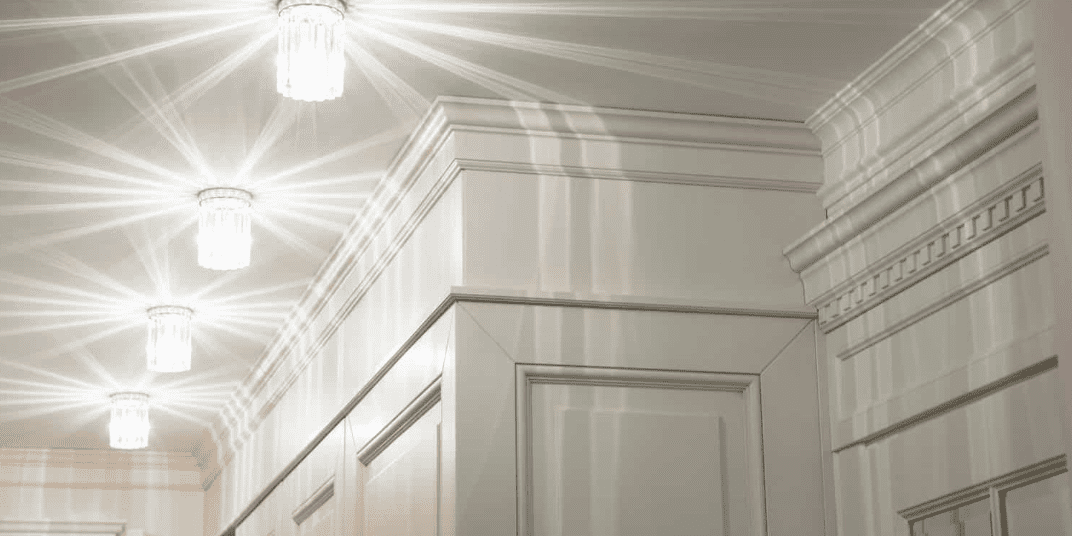
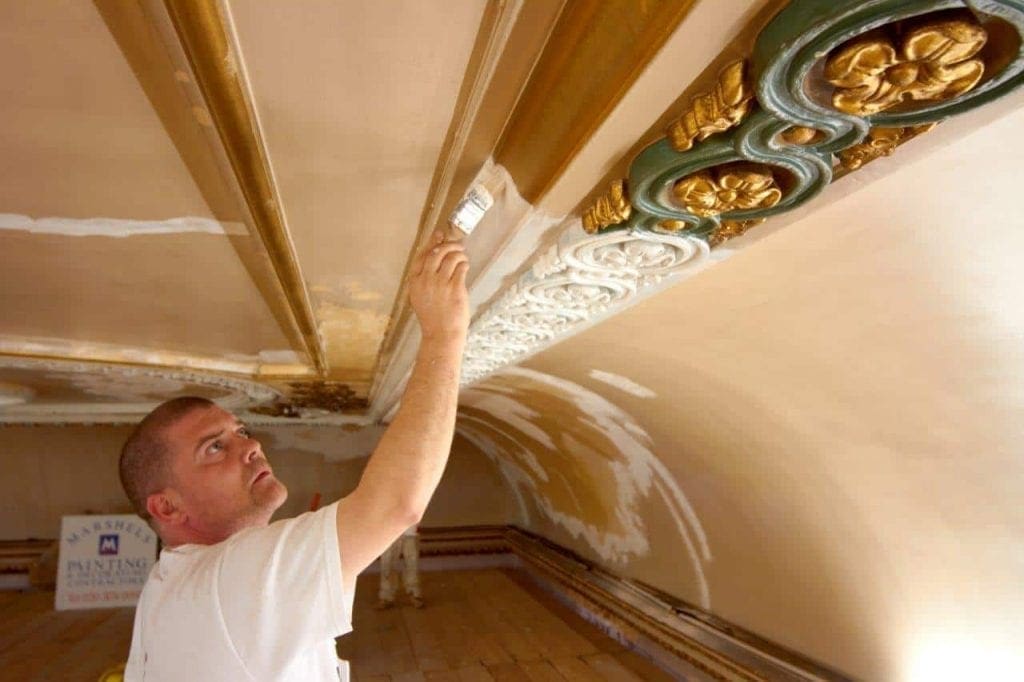
Coving has long been a hallmark of interior design. This subtle yet impactful architectural element not only adds visual interest but also serves as a seamless transition between walls and ceilings. Coving can truly come to life when it is skilfully painted and integrated it into the surrounding décor to create a feature of the room.
In our ultimate guide, we’ll delve into the art of painting coving and unlocking the secrets to transforming this often-overlooked feature. We’ll explore the nuances of selecting the right paint and tools for the task, prepping both the coving and the surrounding area for a flawless finish, and mastering the painting techniques that bring out the best in your coving.
What is coving?
Coving, often referred to as moulding, is an architectural feature that serves as a decorative transition between the walls and ceilings of a room. It is a curved or angled strip of material, typically made from wood, plaster, or other mouldable substances, that is installed at the junction where the wall meets the ceiling.
Coving is designed to add aesthetic appeal to interior spaces while also concealing any unevenness or gaps between these two surfaces. It can vary in size, shape, and complexity, ranging from simple rounded profiles to more intricate and decorative designs. Coving plays a significant role in interior design by softening the transition between walls and ceilings, enhancing visual interest, and providing a polished finishing touch to a room’s décor.
What’s the best paint for coving?
The best paint for coving depends on a few factors, including the material of the coving, the desired finish, and the location of the coving (interior or exterior) but for the most part, the choice is yours. Here are some popular options to consider:
- Matte – a popular and on-trend option that provides a smooth, flat finish. Matte paint will usually offer little in the way of light reflection.
- Eggshell – will provide more reflection from light than matte. Eggshell paint will usually withstand stains better than matte paint.
- Soft Sheen & Silk – offers mid-sheen and silky finishes. They are easy to clean and highly durable but less commonly used for coving.
How to paint coving and cornice
- Gather materials and prepare: Collect the necessary tools including paint, brushes, rollers, painter’s tape, drop cloths, and a ladder. Clear the area around the coving and protect surfaces with drop cloths.
- Clean the coving: Dust and clean the coving to ensure a smooth painting surface. Use a damp cloth or a soft brush to remove dirt and debris.
- Inspect for repairs: Check for any cracks or imperfections in the coving. Fill these with appropriate filler and allow it to dry. Sand the patched areas until smooth.
- Apply painter’s tape: Carefully apply painter’s tape along the edges of the walls and ceiling to prevent paint from getting on unwanted surfaces.
- Prime the coving: If needed, apply a coat of primer to promote paint adhesion. Use a brush to reach intricate details and corners.
- Choose the paint: Select a water-based paint with the desired finish (matte, eggshell, etc.). Stir the paint thoroughly to ensure consistent colour and sheen.
- Start painting: Begin with the edges and corners of the coving using a brush. Then, use a small roller to apply paint to the flat surfaces. Work in small sections.
- Smooth and even strokes: Apply paint with smooth and even strokes, following the natural curves of the coving. Be mindful of drips and excess paint.
- Allow drying time: Let the first coat of paint dry according to the manufacturer’s instructions. If needed, apply a second or even third coat for even coverage and intensity of colour.
- Inspect and remove tape: Once the paint is completely dry, carefully remove the painter’s tape at a 45-degree angle. This prevents peeling of the freshly painted surface.
Remember, patience and attention to detail is key to achieving a professional-looking paint job on coving and cornice. Take your time, follow these steps, and you’ll be rewarded with a beautifully refreshed and polished feature to your space.
Whether you’re revamping your home’s interior or tackling a professional project, our team of specialists are here to help take your coving or cornice to the next level. Get in touch today and let’s bring your vision to life!
FAQs
Do you paint the coving or ceiling first?
When painting a room with coving, it’s generally recommended to paint the coving before the ceiling. By starting with the coving, you can achieve clean and precise edges without worrying about accidentally getting paint on the ceiling. This approach ensures that the coving is seamlessly integrated with the wall colour and sets a smooth foundation for the rest of the paint job. Once the coving is dry, you can then move on to painting the ceiling, overlapping slightly onto the painted coving for a neat transition between the two surfaces.
Can you paint straight on to coving?
Yes, you can paint straight onto coving; however, it’s important to ensure proper surface preparation for the best results. Before painting, it’s recommended to clean the coving to remove any dust or dirt that could affect paint adhesion. If the coving is made of wood or plaster, applying a coat of primer can help the paint adhere more effectively and provide a consistent finish. Using the appropriate brushes and rollers, you can then proceed to apply the paint directly onto the coving. Taking your time and using even strokes will help achieve a smooth and professional-looking result.
What is the difference between coving and cornice?
The terms “coving” and “cornice” are often used interchangeably, but there are subtle distinctions between the two. Coving typically refers to a curved or rounded decorative moulding that bridges the transition between walls and ceilings, softening the junction. Cornice, on the other hand, generally refers to a more elaborate moulding that extends along the uppermost part of a wall or at the meeting point of a wall and ceiling. While both serve to enhance interior design and architectural aesthetics, cornices tend to be more intricate and pronounced in their detailing, often featuring more complex patterns and designs.
Is coving old fashioned?
Coving’s popularity has experienced fluctuations over time, but it’s important to note that it has never entirely gone out of style. While it might have been considered somewhat old-fashioned in certain periods, coving has undergone design adaptations that make it compatible with contemporary interior aesthetics. Modern coving options offer sleek and minimalistic designs that blend seamlessly with diverse decor styles, from traditional to contemporary. The resurgence of interest in vintage and classical design elements has also contributed to coving’s revival. Ultimately, coving’s versatility and the ability to adapt its designs to suit current trends mean that it can be both a timeless classic and a modern on-trend addition to interior spaces.


