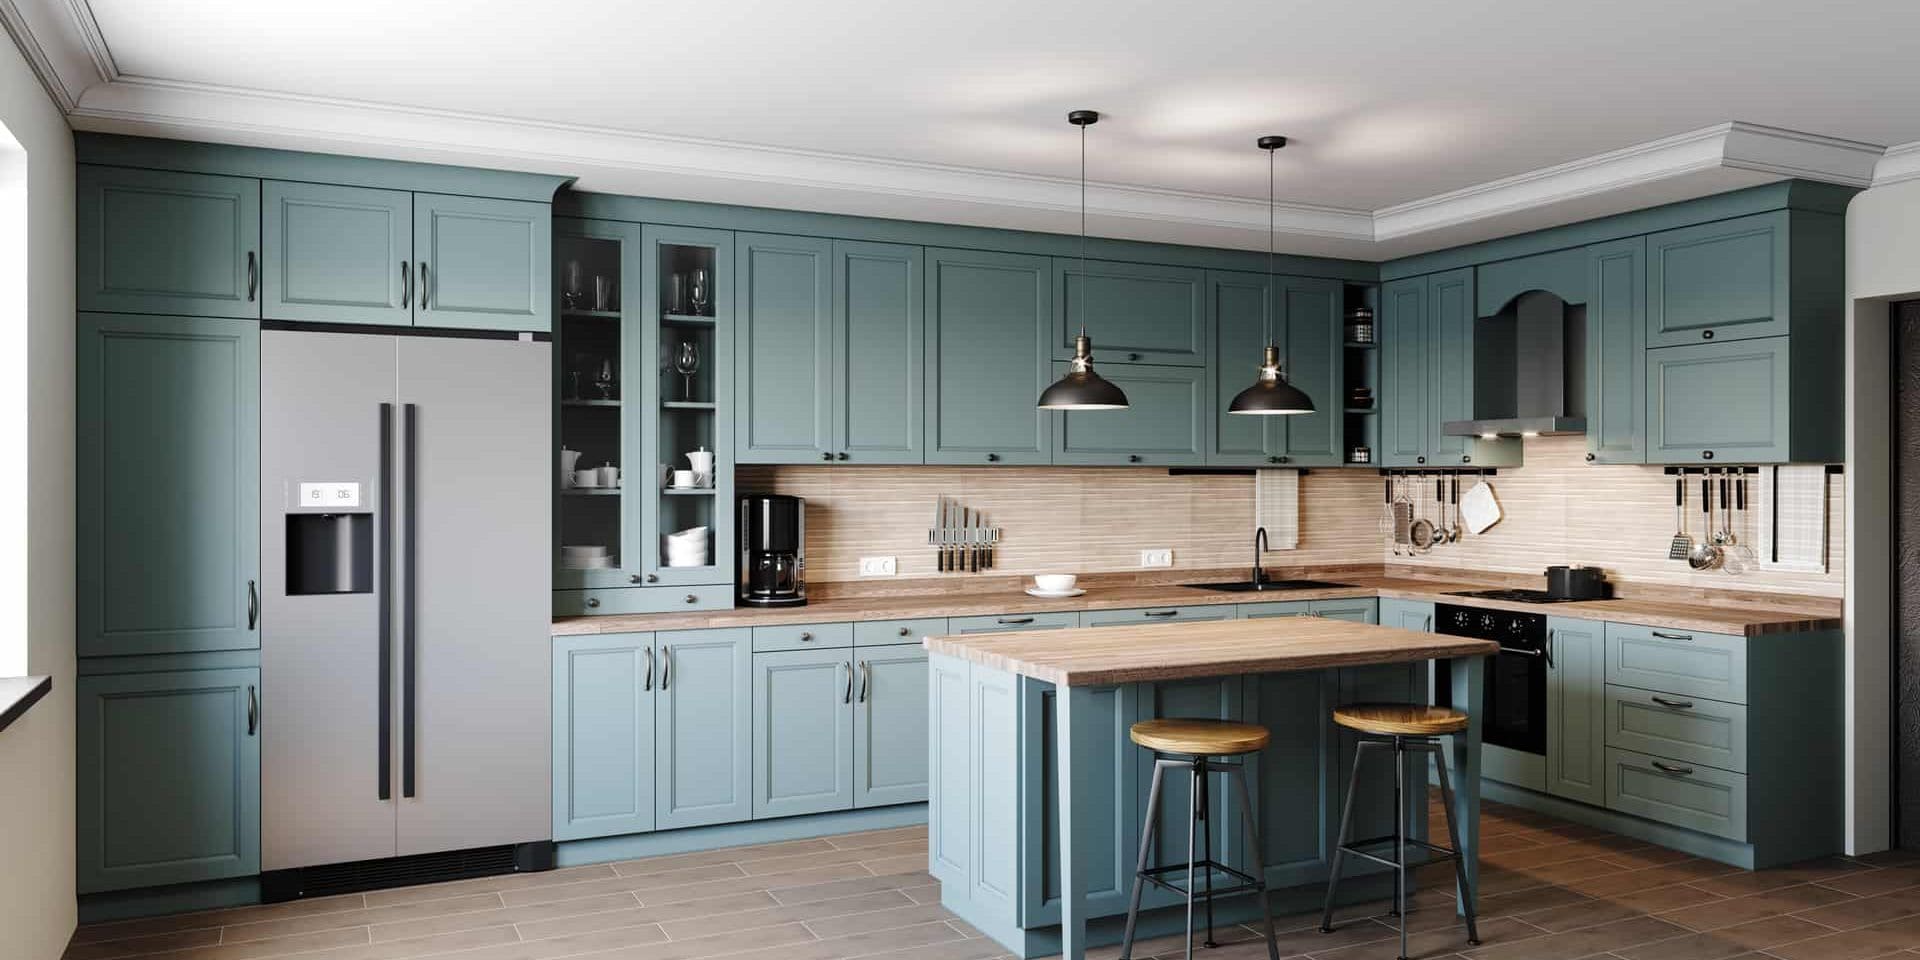
Your kitchen is often referred to as the heart of your home, and its cabinets are the unsung heroes that store your pots, pans, and other essentials. Over time, these cabinets can lose their appeal, leaving your kitchen looking tired and outdated. Instead of going for an expensive and time-consuming kitchen refit, consider refurbishing your kitchen cabinets. Refurbished kitchens can add value to your home and are a cost-effective way to breathe new life into your kitchen space. In this step-by-step guide, we’ll walk you through how to refurbish kitchen cabinets, from preparation to the finishing touches.
Step 1: Assess Your Kitchen Cabinets
Before you dive into the refurbishing process, take a good look at your cabinets. Evaluate their current condition and determine if they can be salvaged or if they need replacing entirely. If the cabinets are structurally sound but have surface issues like scratches, stains, or worn-out paint, refurbishing is an ideal solution.
Step 2: Gather Your Supplies
To successfully refurbish your kitchen cabinets, you’ll need a few essential supplies. Make sure you have the following items on hand:
- Screwdriver
- Paint scraper or sandpaper
- Wood filler
- Sandpaper (various grits)
- Tack cloth
- Primer
- Paint or stain
- Paintbrushes or foam rollers
- Painter’s tape
- Drop cloths or old sheets
- Hardware (such as replacement knobs/handles and hinges)
Step 3: Remove Kitchen Cabinet Doors and Hardware
Start by removing all cabinet doors, drawers, and hardware (such as runners, hinges, knobs and handles). Label each piece or make a diagram to remember where they belong. This step will make the refurbishing process much easier and ensure you don’t damage any hardware.
Step 4: Clean and Prep the Surfaces
Thoroughly clean the cabinet surfaces with a mixture of mild soap and water. Remove all grease, grime, and residue. Once clean, use a paint scraper or sandpaper to remove any loose or peeling paint or varnish. Fill any holes or imperfections with wood filler and sand them smooth once dry.
Step 5: Sand the Kitchen Cabinets
Sanding is a crucial step to ensure proper paint adhesion. Start with a coarse-grit sandpaper (around 80-100 grit) to roughen the surface and remove any remaining old paint or varnish. Then, progressively move to finer-grit sandpapers (150-220 grit) to achieve a smooth and even surface. Be sure to sand in the direction of the wood grain.
Step 6: Wipe Down Surfaces
After sanding, use a tack cloth to remove dust and debris from the cabinets. This step is essential for a clean and smooth finish.
Step 7: Apply Primer
Apply a high-quality primer to the cabinet surfaces. Primer helps the paint adhere better and ensures a long-lasting finish. Use a brush or foam roller for this step and allow the primer to dry completely according to the manufacturer’s instructions.
Step 8: Paint or Stain
Now comes the fun part – painting or staining your cabinets. Choose a paint colour or stain that complements your kitchen’s overall design and style. Apply multiple thin coats of paint, allowing each coat to dry completely before applying the next. If you’re staining, follow the same process, but remember to wipe off any excess stain with a clean cloth after each application.
If you’re on the lookout for suitable paints for your cabinets, we highly recommend exploring the extensive colour selection offered by Farrow & Ball and Little Greene. Both brands provide a wide range of high-quality paints known for their stain-resistant and durable properties. For personalised advice on stains or more tailored recommendations, don’t hesitate to reach out to our team of skilled painters.
Step 9: Reattach Hardware
Once the paint or stain has dried completely and you’re satisfied with the finish, reattach the cabinet doors and hardware. Be sure to align the doors properly and tighten all screws securely.
Step 10: Final Touches
Inspect your newly refurbished kitchen cabinets for any touch-ups or areas that may need additional attention. Take your time to ensure a flawless finish. If you replaced hardware, make sure everything matches and is securely in place.
Step 11: Clean Up
Clean your brushes, rollers, and any other tools you used promptly. Dispose of any leftover paint or stain according to local regulations.
Step 12: Enjoy Your Refurbished Kitchen Cabinets
With your kitchen cabinets looking fresh and rejuvenated, take a step back and appreciate the transformation. You’ve successfully refurbished your kitchen cabinets, adding value to your home and creating a more appealing space to cook and entertain in.
Conclusion
Refurbished kitchens are known to add value to your home and can be achieved by following the steps above. Refurbing your kitchen cabinets is a rewarding DIY project that can give your kitchen a whole new look without the expense of a full remodel. With the right tools, preparation, and patience, you can achieve professional-looking results that reflect your personal style.
If DIY isn’t for you, or you don’t have the time to dedicate to your kitchen refurbishment project, get in touch with Marshels today to see how our skilled team can support in transforming your kitchen into a space that feels brand new.


