Wallpaper can be a great way to add a touch of interest to your space. But what if you’re looking to refresh a room that already has wallpaper? Can you simply paper over it, or is it best to start from scratch?
Our wallpaper specialists have the answers and advice on some of the possibilities, considerations, and methods involved in wallpapering over existing wallpaper.
Things to consider before wallpapering
Before diving into the project, it’s essential to consider a few key factors:
Condition of existing wallpaper: Assess the condition of the current wallpaper. If it’s in good shape—adhered well to the wall, no peeling edges or bubbles—it might be suitable for wallpapering over. However, if it’s damaged or peeling, it’s best to remove it entirely to ensure a smooth surface for the new wallpaper.
Type of wallpaper: The type matters. Vinyl wallpapers, for instance, might not provide the ideal surface for new wallpaper to adhere to, especially if they have a textured finish. In such cases, removing the existing paper is recommended for better adhesion.
Thickness: Adding another layer of wallpaper will increase the thickness on your walls. This might not be a concern if the room has ample space, but in smaller rooms or areas with tight corners, the additional thickness could pose challenges, such as difficulty in fitting trim and mouldings.
Amount of existing wallpaper layers: If your wall has previously been wallpapered over, it is strongly recommended to remove all layers and start from scratch. If you’re not sure whether the wall has more than one existing layer, you may need to cut into the wallpaper in a discreet, covered area to see if other layers exist.
Design and pattern: Consider the design and pattern of both the existing and new wallpapers. If the existing paper has a busy pattern or dark colour, it might show through the new wallpaper, affecting the final look. In such instances, removing the old wallpaper is preferable for a cleaner finish.
Long-term durability: While wallpapering over existing wallpaper can be a time-saving option, it’s essential to think about long-term durability. If the existing paper starts to peel or detach, it could affect the new wallpaper as well, leading to maintenance issues down the line.


How to wallpaper over wallpaper
If you’ve decided that wallpapering over existing wallpaper is the way to go, here’s a step-by-step guide to help you achieve the best results:
- Prepare the surface: Ensure the existing paper is clean and free of any dust, dirt, or grease. Wipe down the walls with a mild detergent solution and allow them to dry completely.
- Repair any damage: If there are any tears, bubbles, or loose edges in the existing wallpaper, take the time to repair them. Use adhesive to reattach loose sections and a smoothing tool to eliminate bubbles.
- Prime the surface: Applying a primer over the existing wallpaper can improve adhesion and provide a smoother surface for the new paper. Choose a primer suitable for wallpapering and follow the manufacturer’s instructions for application.
- Measure and cut the new wallpaper: Measure the height and width of your walls to determine how much new wallpaper you’ll need. Cut the wallpaper into manageable strips, allowing for a few extra inches at the top and bottom for trimming.
- Apply wallpaper adhesive: Using a paint roller or brush, apply wallpaper adhesive to the back of the new wallpaper according to the manufacturer’s instructions. Be sure to work quickly to prevent the adhesive from drying out.
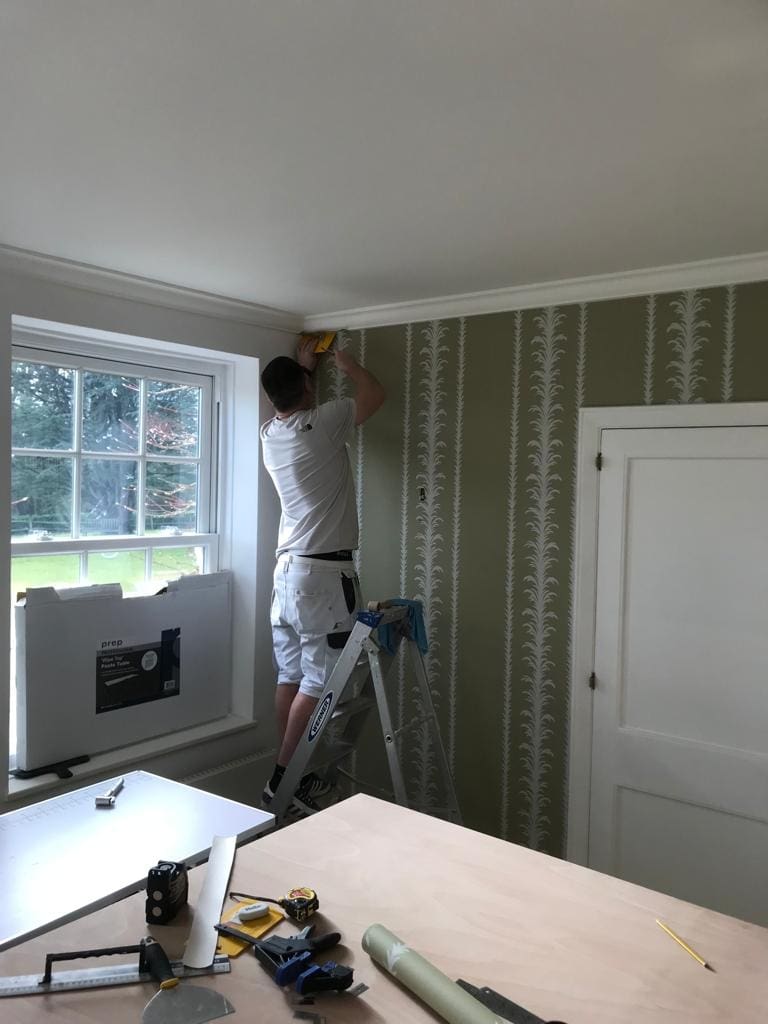
- Hang the new wallpaper: Carefully position the first strip of wallpaper at the top of the wall, leaving a slight overlap at the ceiling. Use a wallpaper smoother to press the wallpaper firmly onto the wall, working out any air bubbles or wrinkles as you go.
- Continue hanging strips: Repeat the process, aligning each new strip of wallpaper with the previous one, ensuring a seamless pattern match. Trim any excess wallpaper at the top and bottom using a sharp utility knife and a straightedge.
- Allow to dry: Once all the wallpaper is in place, allow it to dry completely before moving or rearranging furniture in the room.
How to remove wallpaper
If you’ve decided that removing the existing wallpaper is the best course of action, follow these steps:
- Gather your supplies: You’ll need a scorer, wallpaper stripping solution, a putty knife or scraper, and a sponge or cloth. Graham & Brown offer a fantastic selection of wallpaper tools to get you started.
- Score the wallpaper: Use a wallpaper scorer to perforate the surface of the paper. This will allow the stripping solution to penetrate and loosen the adhesive underneath.
- Apply stripping solution: Generously apply the stripping solution to the wallpaper using a sponge or cloth. Allow it to soak in for the recommended amount of time, typically 10-15 minutes.
- Scrape away the wallpaper: Once the stripping solution has had time to work, use a putty knife or scraper to gently remove the wallpaper from the wall. Work in small sections, taking care not to damage the underlying wall surface.
- Clean the walls: Once all the wallpaper has been removed, wipe down the walls with clean water to remove any remaining adhesive residue. Allow the walls to dry completely before proceeding with any further wall treatments.
- Repair any damage: If the wallpaper removal process has caused any damage to the walls, such as scratches or gouges, patch them with spackle or joint compound. Sand the patched areas smooth once they’re dry.
- Prime the walls: Before applying new wallpaper or paint, it’s a good idea to prime the walls to seal and smooth the surface. Choose a primer suitable for the type of walls you have and follow the manufacturer’s instructions for application.
- Proceed with new wall treatment: Once the walls are prepped and primed, you’re ready to proceed with your chosen wall treatment, whether it’s applying new wallpaper, painting, or something else entirely.

Whether you choose to wallpaper over existing wallpaper or opt to remove and start over, careful preparation, and attention to detail is key to achieving professional-looking results. Consider the existing condition, the type of wallpaper you’re working with, and your long-term goals for the space to determine the best course of action.
With the right approach and a little patience, you can transform your walls and refresh your space to suit your style and preferences. DIY isn’t for everyone, however, so if you’re looking for a specialist wallpaper hanger to help, we’ve got you covered.
For over 37 years, Marshels have been transforming spaces through our commercial decorating and domestic decorating services, with our highly skilled wallpapering specialists on hand for your project.
Get in touch with us today to discuss your plans and to receive a free no obligation quote.


